
Let me start by saying this project is very very time consumming. It took me about 3 days. Probably 8-10 hours total. I did however have to take seceral breaks because of the before mentioned neck injury. You could probably do it in one days time.
Things you'll need:
2 yards of red fabric or which ever color you prefer.
2 yards of burlap so 4 yards of material total. I have also seen these made all one color and that looks great too.
Lots and lots of glue sticks. I probably used 10 or more.
Glue gun.
Fabric glue
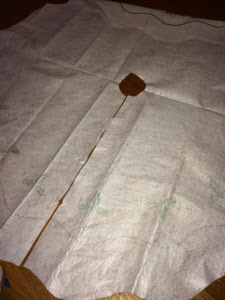
Dollar store felt tree skirt for the base
Sewing machine
I started out by cutting all my fabric into 4 inch wide strips. The red fabric I cut just a smidge wider to allow for a very small hem which I did on my seeing machine. I only hemmed the edge that would show. For the burlap, not going to sugar coat it, it was messy! I tried to zigzag around the edges to keep it from unraveling but it was just too thick. Then I had a stroke of genius and decided to use fabric glue around the edge that would show. Once that was done I laid down my dollar store tree skirt upside down and plugged in my glue stick.
Then I carefully hot glued and overlapped each of my layers all the way around the circle.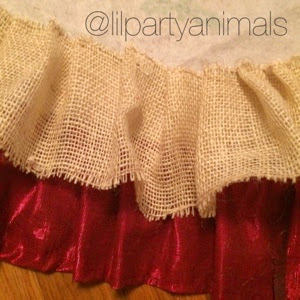

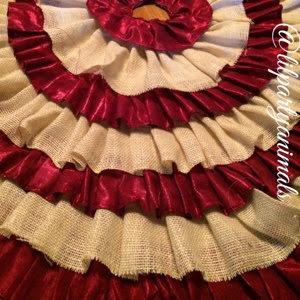
As I finished each row, I alternated burlap and red fabric. When I got to the center I made a very small ribbon from the red fabric abd glued that around the center to give it a finished look.
It looked even better once we had our tree up! I seriously can't stop staring at it!! I love it so much!!
No comments:
Post a Comment